Salt finishes, also called rock-salt finishes, are becoming more popular among do-it-yourself loving homeowners. The technique creates a completely unique pattern in the surface that puts it a step above ordinary concrete. We’ll give you a basic understanding of how to salt finish concrete.
Many people with outdoor pool decks, patios, walkways, or driveways often opt for a rock-salt finish. It gives an area some creative visual character while simultaneously helping to make the surface less slippery by providing added traction.
A Risk to Consider
One crucial note for anyone considering salted concrete involves the freeze-thaw risk. When adding a salt finish, the process involves creating small divots in the concrete. Depending on weather conditions, there is a risk that too much ice in these tiny holes could cause surface cracking and breakage. Homeowners in freeze-thaw climates should consult a contractor about how to salt finish concrete in their particular area.
Salting is one of the easiest concrete modifications out there, and it can be done in one of two ways.
Traditional Salting
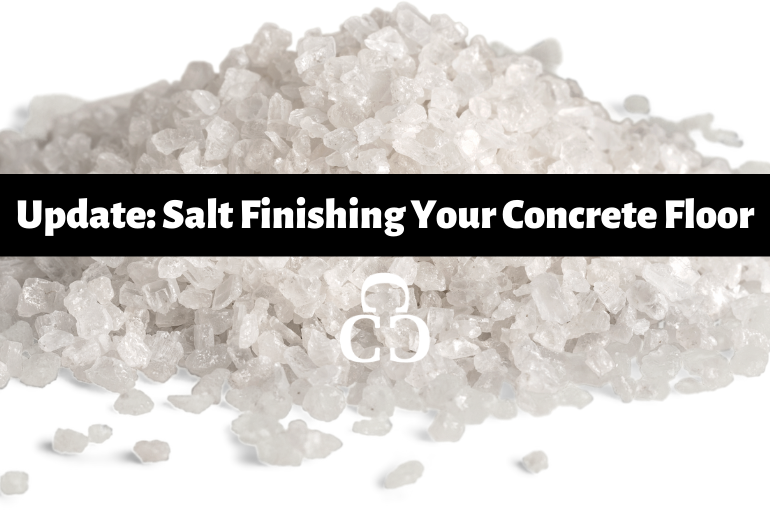
The first involves a bag of rock salt, the same you would use to de-ice a driveway in the winter or fill a water softener. The size of the salt crystals are crucial to the appearance of your salted concrete, so choose wisely.
After the concrete has been poured and floated (smoothed or pressed into shape), rock salt is hand-tossed onto the soft surface. A good way to gauge whether the surface is ready to be salted – press a finger onto the concrete. If residue or color is left on your finger, it is not yet ready. “Broadcasting” or throwing the salt down can be tough the first time, as it’s easy to “over-salt” – or unevenly distribute the salt crystals, which can create an undesirable look.
Normally, plastic sheeting is placed over the concrete to protect the effect. A rock salt concrete finish roller is then used to press the salt securely into the concrete. The tops of the crystals must remain exposed, though. We’ll discuss why shortly.
Once all areas have been salted and pressed, the concrete is allowed to set. Depending on the area and time required to cure, plastic sheeting treated with a non-stick agent may be left over it. The cured concrete is then ready for the final step.
A power washer can be rented relatively cheaply from a home improvement or hardware store. The salt needs to be dissolved in place to leave only the small voids behind. This washing process is important because any rock salt left behind will degrade the concrete. If rings are left around the holes after the salt is gone, there’s no need to panic! These should disappear with future water and sun exposure.
Roller and Skin Salting
The second way to salt finish is with a rock salt concrete finish roller. This is a device that looks similar to a paint roller, but it has a stamped pattern to mimic rock salt crystals. The roller is then applied to the surface evenly. Rock salt finish “skins” are also available in a range of slab sizes. These can be laid and pressed into the concrete to achieve the same effect. When the surface has dried, it’s ready to be sealed.
Do-it-yourself concrete projects do not get much easier than salted concrete. In addition to being simple, it is extremely cost-effective. One source says that the project can be completed for one extra dollar per square foot.
We hope this guide has helped teach you the ins and outs of how to salt finish concrete around your home. Custom Concrete Creations specializes in sealing, so contact us to help finalize your rock salt concrete project or start a different one!
