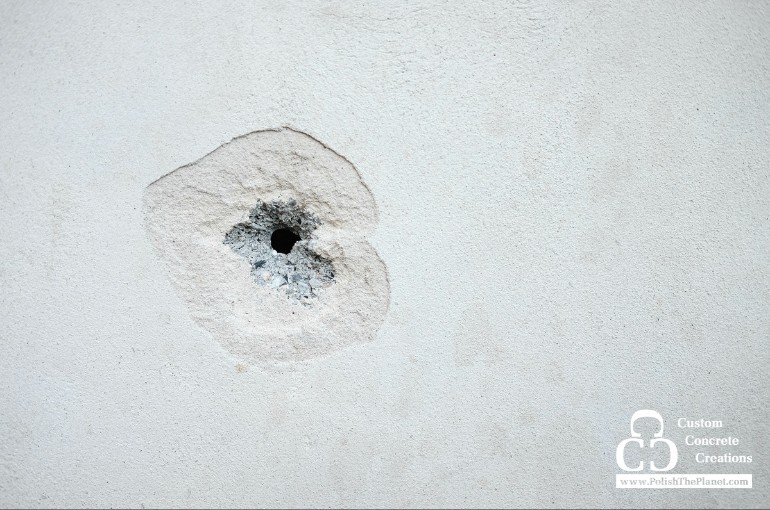
Concrete is known for its durability and strength, making it a popular choice for various construction projects. However, over time, concrete surfaces can develop holes due to wear and tear, weathering or accidental damage. Fixing these holes is essential to maintain the structural integrity and aesthetic appeal of your concrete surfaces. Learn the process of how to fill holes in concrete, ensuring a smooth and long-lasting finish!
Materials you’ll need
- Concrete patching compound or mix
- Concrete bonding adhesive
- Wire brush
- Chisel and hammer
- Trowel
- Putty knife
- Clean cloth or sponge
- Bucket of water
- Safety goggles and gloves
Step-by-step instructions
1. Clean the area
Begin by cleaning the area around the hole to remove dirt, debris or loose concrete. Use a wire brush to scrub the surface thoroughly. If there are any stubborn particles, use a chisel and hammer to remove them.
Steps:
- Put on your safety goggles and gloves.
- Scrub the area with a wire brush to remove loose debris.
- Use a chisel and hammer to clean out any stubborn particles.
- Wipe the area with a clean cloth or sponge to remove any dust.
2. Prepare the hole
Preparing the hole involves undercutting the edges to create a slightly wider base. This helps the patching material bond more effectively with the existing concrete.
Steps:
- Use a chisel and hammer to widen the base of the hole slightly, creating an inverted “V” shape.
- Brush away any loose debris created during this process.
3. Apply the bonding adhesive
A bonding adhesive ensures that the new patching material adheres properly to the existing concrete. This step is crucial for a durable repair.
Steps:
- Apply the concrete bonding adhesive to the edges and base of the hole using a putty knife or brush.
- Follow the manufacturer’s instructions for drying time before applying the patching compound.
4. Mix the patching compound
Mix the concrete patching compound according to the manufacturer’s instructions. The consistency should be thick but workable.
Steps:
- Pour the required amount of patching compound into a bucket.
- Add water as per the instructions and mix thoroughly until you achieve a thick, smooth consistency.
5. Fill the hole
Filling the hole involves carefully applying the patching compound to ensure it bonds well with the existing concrete and forms a smooth, level surface.
Steps:
- Using a trowel, apply the patching compound to the hole, pressing it firmly into the edges.
- Fill the hole completely, ensuring there are no air pockets.
- Smooth the surface with the trowel, feathering the edges to blend with the surrounding concrete.
6. Allow the patch to cure
Proper curing is essential for the patch to harden and achieve its full strength. Avoid disturbing the patch during this period.
Steps:
- Follow the manufacturer’s instructions for curing time, which is typically 24 to 48 hours.
- Keep the patch moist during the curing process by lightly spraying it with water if recommended.
7. Finish and seal
Once the patch has cured, you can finish the surface to match the surrounding concrete. Sealing the patch can help protect it from future damage.
Steps:
- If necessary, use fine-grit sandpaper to smooth any rough edges or high spots.
- Apply a concrete sealer to the patched area to protect it from moisture and wear.
Now you know how to fill holes in concrete
Knowing how to fill holes in concrete is a straightforward process that can restore the appearance and functionality of your surfaces. By following these steps, you can achieve a durable and aesthetically pleasing repair that blends seamlessly with the existing concrete. Regular maintenance and prompt repairs will help prolong the life of your concrete surfaces, keeping them looking great and performing well for years to come! Contact us today with any questions.
