![]()
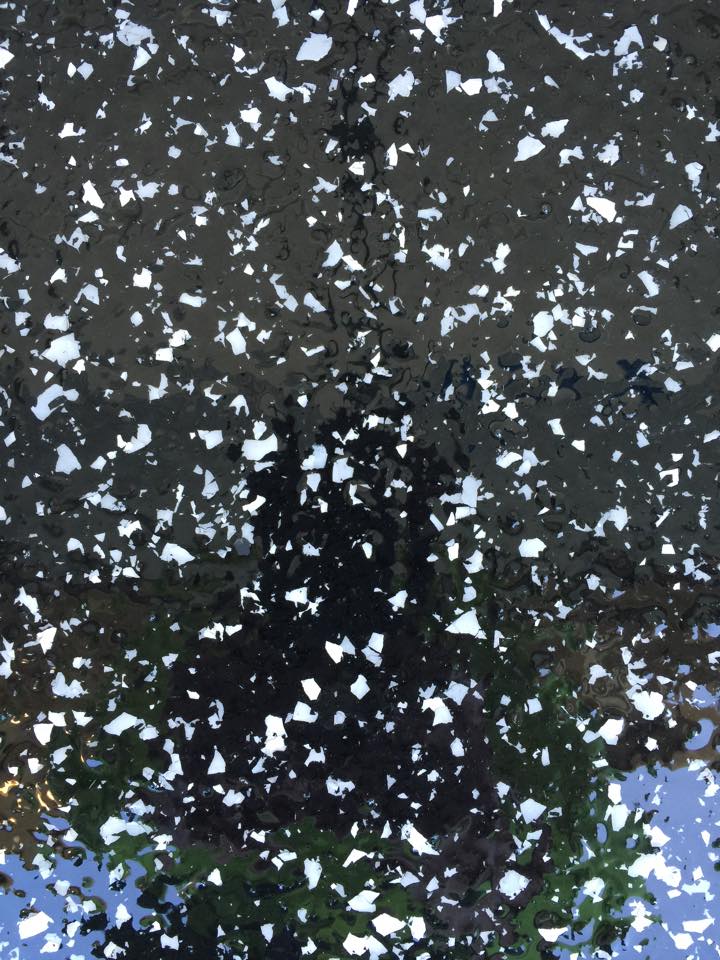
After writing about the various color flake options in yesterday’s blog we thought it would be appropriate to follow it up with a blog on how to actually apply the color flakes. When applying an epoxy and polyaspartic coating with vinyl color flakes you will broadcast the flakes onto the floor immediately following the epoxy application. This means that you will want to apply the flakes within no more than 10 minutes of the last back roll, ensuring that the coating is still tacky.
A common question when it comes to applying paint flakes is, “What is the best way to apply them?” One of the easiest ways is to put the flakes in a clean and empty bucket, take one small handful of flakes at a time, and toss the flakes into the air as if you were feeding chickens. For full coverage floors, you will use the same method except you will use larger handfuls at a time. This actually allows you to work rather quickly ensuring that you cover the whole floor. Distributing the flakes in this manner allows for the flakes to arc upward before falling to the ground which causes the flakes to disperse more evenly. Do not toss the flakes downward towards the floor, this will result in dense areas and an uneven appearance that is difficult to correct.
If you are concerned about how to disperse the color flakes or if you want to practice your coverage rate you can practice by tossing the flakes onto a clean floor to ensure good and even coverage before you begin. Usually, you will only need to practice on a small area, then you just sweep up the flakes and prepare the floor for the coatings.
After you are done distributing the flakes there will be a lot of loose flakes on the floor that did not adhere to the coating. There will also be some color flakes that are sticking up into the air. One of the simplest ways to remove the excess flakes is by taping a ten inch drywall taping knife to the end of an extension pole and lightly dragging the taping knife over the floor to level any flakes that are sticking out. Then simply sweep up or vacuum the remaining flakes.
When applying the flakes in full coverage you can just sweep up the remaining loose flakes after broadcasting them, there will be a lot. Then you can use the same method using the drywall knife at a shallow angle to remove or knock down any flakes that are sticking out of the floor. You want to have all of the flakes leveled before applying the topcoat or the flakes will stick out of the coating. After you use the drywall knife sweep again and then use a shop vac to remove any remaining loose flakes. The vacuum should come with an adapter tool that can also be used to scrape along the floor to eliminate any existing loose flakes, but don’t worry about getting every single loose flake, the top coat will seal them in. A leaf blower can also be used to blow loose flakes to one area for easy clean up, but only use electric as gas powered leaf blowers can contaminate the floor if there are any drippings. This will disrupt the top coat.
When applying the topcoat whether it be epoxy, polyurethane, or polyaspartic, remember that a thinner application will allow for some texture on the floor and a thicker application will provide a smoother untextured surface. Also, keep in mind that even though you may have more texture from a thinner topcoat, this does not guarantee any anti-slip properties as the more textured floors are not that different than the smoother surfaces when it comes to slip resistance.
There are so many creative and custom options for finishing concrete, but first and foremost important is the concrete itself. At Custom Concrete Creations we have state of the art equipment and a properly trained team with years of experience. Custom Concrete Creations is a premier contractor serving the Omaha area as well at the Midwest. Give us a call or send us an email for your custom concrete finishing needs today!
